Here’s the fastest route to soft curls once you’re sure the cast has cured:
- Touch-test a few sections at your roots and ends. Any dampness means wait longer.
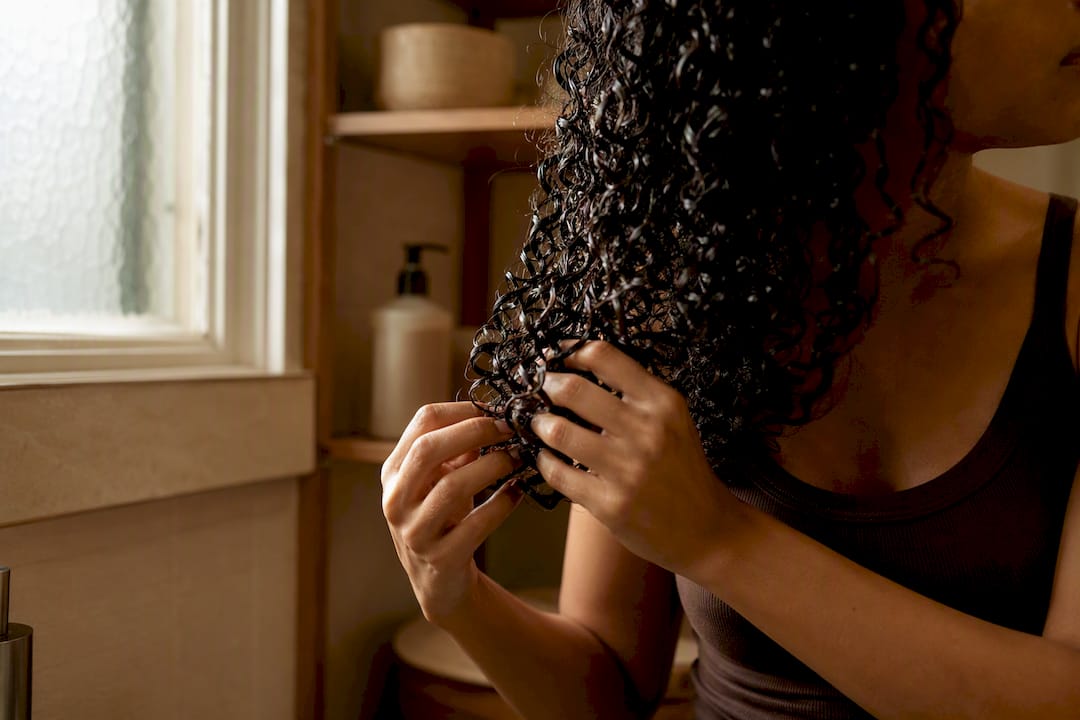
- Cup sections in your palms and scrunch upward, gently, in short bursts.
- If frizz creeps in, warm a drop of lightweight oil in your palms first, then repeat the scrunch.
- Finish by cupping hair at the roots and lifting to rebuild volume.
Do not do these three things:
- Rub or tousle hair while breaking the cast. That’s what causes frizz, not the cast itself.
- Break the cast before it’s fully dry. Damp cast collapses definition instead of releasing it.
- Slather on heavy oil or butter to “help.” Too much product just weighs curls down and creates buildup.
Key Takeaways
The safest way to break a gel cast is to wait for complete dryness, then use short, gentle pressure with either dry hands or a small amount of warmed oil.
| Point | Details |
|---|---|
| Wait for full dryness | Touch-test roots and ends; any coolness or dampness means the cast isn’t ready. |
| Choose your method by hair type | Dry scrunch works for fine or short hair; oil-assisted milking suits long, dense, or low-porosity hair. |
| Use short, controlled pressure | Short squeezes soften the cast’s film without pulling clumps apart. |
| Recover volume with a root lift | Cup and lift at the scalp after scrunching to rebuild height without losing definition. |
| Shop lightweight formulas | Cocomera’s hair oil and styling gel collections are built for textured curls that need cast control without buildup. |
Table of Contents
- What Is a Gel Cast and Why Bother Breaking It?
- When Should You Break a Curl Cast?
- How to Break a Gel Cast Without Losing Curl Definition
- What to Do When Curls Frizz or Flatten After Breaking the Cast
- What Products Help You Break a Gel Cast the Right Way
- Sources
What Is a Gel Cast and Why Bother Breaking It?
A gel cast is the crunchy, protective shell that forms when gel (or mousse plus gel) dries around your clumped curls. It’s not a mistake or a sign you overdid your product. It’s the mechanism that locks your curl pattern in place while the product finishes setting, holding clumps together and keeping frizz at bay during the drying process.
The trade-off is simple: crunchy now, soft later. Three things make that trade worth it.
- Longer-lasting shape. A cured cast holds your curl pattern through the day and often into a second-day style, instead of collapsing by lunchtime.
- Frizz reduction. The dried film seals the hair shaft, blocking the humidity and friction that trigger frizz.
- Preserved clumping. Curls that dry inside a cast keep their clumped, spiral formation rather than separating into fuzzy, undefined strands.
Hairstylist Deisy Alfaro points out that the cast’s real job is longevity: soften it too soon or too roughly and you lose the hold you just spent an hour building.
Think about the curls that still look sharp on day two without a single product touch-up. That’s a cast that was allowed to fully cure before anyone touched it.
When Should You Break a Curl Cast?
Timing decides whether you get soft curls or a frizzy mess, and the rule is non-negotiable: wait until hair is completely, bone-dry before you touch it.
Run your fingers over a few different sections, not just one spot near the crown, since roots and ends often dry at different speeds. A cast that’s ready feels stiff and slightly crunchy, almost like it could crack, with zero give when you press it.
Look for these signs before you scrunch anything:
- No cool or damp patches when you press a section between two fingers.
- A visibly crisp, matte texture rather than a shiny, wet-looking sheen.
- Hair feels lightweight and stiff, not heavy or tacky.
- A faint crackling sound when you gently squeeze a curl.
If you diffuse, scrunch out the cast after diffusing is fully finished, not before. Diffusing while the cast is still soft disturbs the clumps mid-formation, which is one of the fastest ways to end up with fluffy, undefined pieces instead of tight curls.
How to Break a Gel Cast Without Losing Curl Definition
Two methods handle almost every situation: the dry-hand scrunch for quick refreshes, and oil-assisted “milking” when you want extra shine and softness. Here’s how to run each one correctly.
Method 1: The dry-hand scrunch
- Cup a section of hair in both palms, fingers together, no fingers spread through the strands.
- Scrunch upward toward the scalp in short, quick pulses, never a long dragging motion.
- Move section by section around your head rather than grabbing your whole head at once.
- Stop as soon as the crunch softens. Overworking a section flattens it.
Method 2: Oil-assisted milking
Warm two or three drops of a lightweight hair oil between your palms until it’s evenly spread and slightly warm to the touch. Gently squeeze and release sections of hair, working from ends toward roots, using the same short, controlled pressure as the dry scrunch. Salon guidance backs this specific approach: warming oil in your palms and gently squeezing softens the cast’s polymer film without pulling clumps apart. A Swedish curl-care breakdown recommends the same palm-warming step specifically for softer, shinier results once hair is confirmed dry.

The mechanical detail that matters: use short, controlled squeezes, not long pulls. A long dragging motion stretches the clump and can separate curls that took an hour to form.
Recovering volume after you scrunch
If your roots look flat once the cast is broken, cup hair at the scalp and gently lift while your fingers hold the newly softened clump in place. This rebuilds height at the root without disturbing the definition you just worked to preserve.
Adjusting for your hair
Short hair with tighter curls (think type 3c or 4a) often needs less oil and a faster scrunch, since less surface area means less cast to break through. Long or dense hair benefits from working section by section, starting with lower layers and finishing with the crown, so you’re not fighting an entire head of cast at once. Fine, low-density hair should skip oil almost entirely and rely on the dry scrunch, since even a small amount of product can weigh it down. Low-porosity hair, which resists absorbing product, does better with oil-assisted milking because the light coating helps the scrunch glide instead of catching.
What to avoid entirely
- Rubbing or tousling hair in a circular motion. This is the single biggest cause of frizz during cast removal.
- Scrunching while any part of the cast is still damp.
- Applying heavy butters or thick creams directly as a “breaking” agent. They sit on top of the cast instead of softening it.
- Working with cold oil straight from the bottle. Cold product doesn’t spread evenly and forces you to use more than you need.
Pro Tip: Keep oil in your palms only, never directly on your scalp or strands. A light film transferred from warm palms softens the cast evenly, while pouring oil straight onto hair creates heavy spots that flatten curls unevenly.
What to Do When Curls Frizz or Flatten After Breaking the Cast
Even with good technique, curls occasionally rebel. Here’s how to fix the most common issues fast, before they wreck your whole look.
- Curls frizz right after scrunching. Warm one or two drops of lightweight oil in your palms and re-scrunch the frizzy sections only, using the same short pulses as before.
- Hair goes flat at the crown. Use the root-lift cup-and-lift technique on dry sections, working in small pieces rather than your whole head at once.
- Cast breaks unevenly, leaving crunchy patches. Go back over just those patches with a fresh, small amount of oil rather than repeating the process on hair that’s already soft.
- Buildup appears (dullness, a tacky feel, weighed-down roots). Stop applying more oil immediately and switch to a clarifying wash on your next cleanse day.
Watch for a few red flags that mean you should stop and reset rather than push through. Sticky, tacky residue that won’t rub off between your fingers signals oil overload, not a stubborn cast. Extreme tangling during the scrunch usually means hair wasn’t fully dry to begin with. In either case, stop, let hair finish air-drying if it’s still damp, or move straight to a gentle detangle with a wide-tooth comb if buildup is the culprit. Trying to force through either issue with more scrunching tends to make curls lose their definition rather than restore it.
What Products Help You Break a Gel Cast the Right Way
The right products make cast-breaking nearly foolproof; the wrong ones undo the whole process. Here’s what actually helps.
- Lightweight hair oil — the core tool for milking. A few drops warmed in your palms softens the cast without adding weight.
- Silicone-free serum — adds shine and a bit of slip for stubborn, crunchy patches without coating the hair shaft.
- Low-weight leave-in conditioner — useful if hair feels dry or brittle once the cast is broken, restoring softness without disturbing clumps.
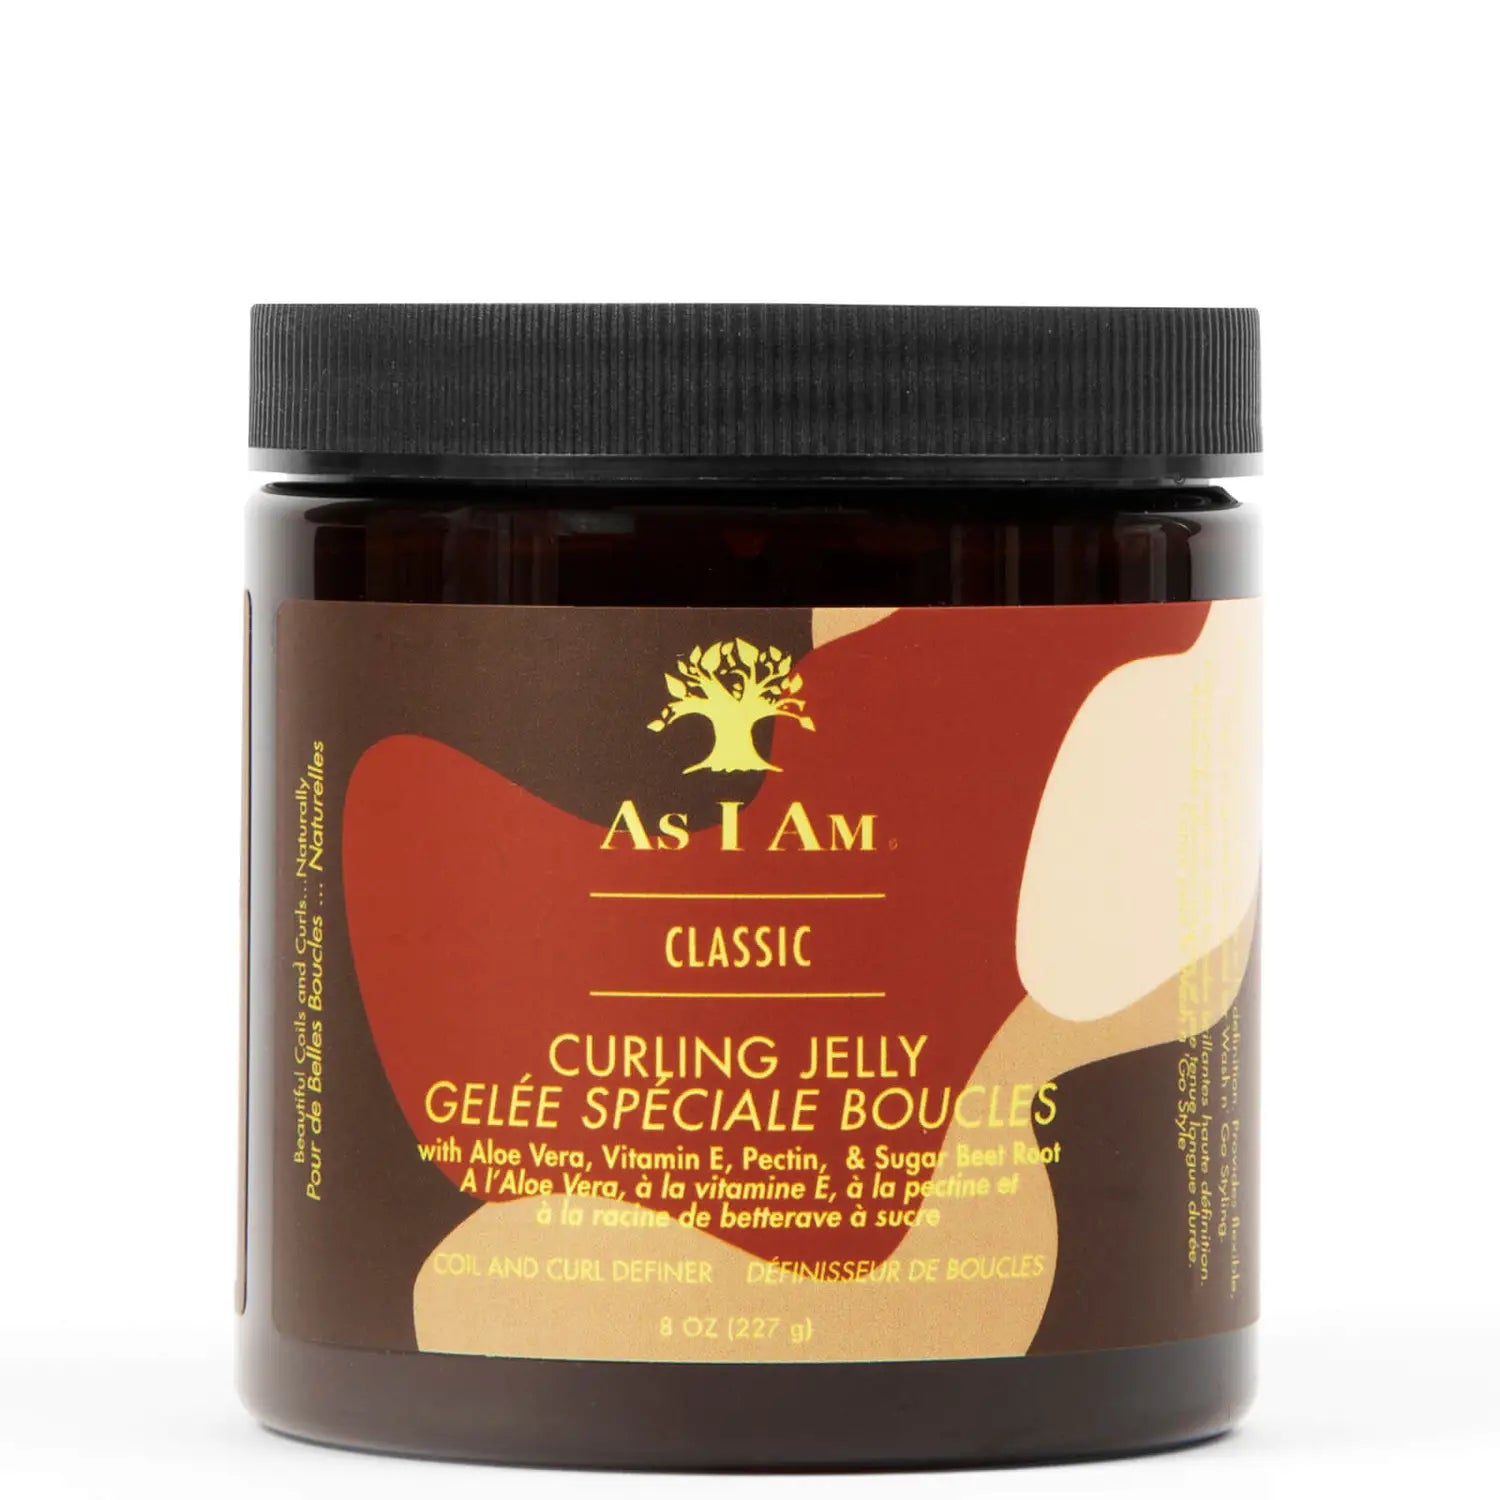
- Strong-hold styling gel — the product that built the cast in the first place, and worth getting right since a balanced gel-and-mousse layering approach avoids a cast so heavy it’s hard to break without flattening curls.
- Wide-tooth comb — helpful only for detangling before styling, never during the cast-breaking process itself.
Check product labels for weight before buying. Anything listing mineral oil, paraffin, or heavy waxes near the top of the ingredient list tends to sit on curls rather than absorb, which is exactly what causes buildup after repeated milking sessions. In Sweden, ingredient lists on hair care packaging are required to follow EU cosmetic labeling standards, so checking the first five ingredients gives you a quick read on how heavy a product actually is.
Cocomera’s styling gel roundup covers a range of hold levels if you’re rebuilding your cast routine from scratch, and the hair oil collection is built specifically for the milking method described above rather than heavier body oils meant for skin.
Why Milking Preserves Curl Structure Better Than a Dry Scrunch
Milking works because oil changes how the cast responds to pressure, not because it adds moisture back into the hair. A thin, warm layer of oil lets the dried polymer film soften and release without severing the bonds holding each clump together, which is the difference between a curl that loosens gracefully and one that frizzes apart.
Starting with a very small amount of oil and adding more only in tiny increments during milking keeps clumps separated and avoids the flat, greasy look that comes from overdoing it.
Reach for milking on long or heavy hair, and on humid days when a plain dry scrunch tends to reintroduce frizz almost immediately. Save the dry-hand scrunch for quick, light refreshes, especially on fine hair or second-day touch-ups where you don’t want any extra product weight.
My Take on Getting Comfortable With This
Cast-breaking felt intimidating the first few tries. It’s the one step where impatience actually costs you, since a curl routine only clicks once you stop treating the cast like something to rush through.
- Try the dry scrunch on one wash day, then oil-milking on the next, and compare which one leaves your curls softer by evening.
- Give yourself permission for an uneven result once or twice. Every curl pattern responds a little differently, and that’s normal, not a sign you’re doing it wrong.
Shop Smarter for Cast-Breaking Day
Getting the milking method right starts with having a genuinely lightweight oil on hand, not whatever heavy body oil happens to be in your bathroom cabinet. Cocomera’s hair oil collection is curated specifically for textured curl types 2 through 4, so every option is formulated to soften a cast without leaving the greasy residue that heavier oils tend to cause.

If your cast routine also needs a hold adjustment, the styling products collection covers gels and mousses at different strengths, useful if you’ve noticed your current cast is either too stiff to break gently or too soft to hold shape past midday. Browse both collections, pick one lightweight oil to start with, and test it on your next wash day.
Sources
- Curl Casts Will Create Major Definition: How to Create One — Byrdie
- Understanding the Gel Cast: Benefits for Your Curls — Destiny’s Salon
- Hårgele för lockigt hår: Hur man får definierade lockar — Hairlust
- Guide: All skillnad på gel och mousse för lockar du behöver — BaressoShop magazine
Turn to Byrdie for the deeper technique explanation, and Hairlust or the Instagram demo reels referenced throughout for a faster, visual walkthrough of the actual hand motion.