Dry, dull curls that refuse to hold their shape are one of the most common frustrations for women with textured hair. You wash, condition, and style, yet frizz and breakage keep showing up. The good news is that a consistent hair masking routine can turn things around fast. This guide walks you through exactly why masking matters for type 2, 3, and 4 curls, what products and tools you actually need, how to apply a mask correctly, and how to fix the most common mistakes. By the end, you will know how to build a routine that works for your specific curl pattern.
Table of Contents
- Why hair masking is essential for curls
- What you need: Products and tools for an effective mask
- How to apply a hair mask: Step-by-step for curls
- Troubleshooting and perfecting your masking results
- Hair masking for curls: What most guides miss
- Discover curated hair masking essentials for every curl
- Frequently asked questions
Key Takeaways
| Point | Details |
|---|---|
| Moisture is vital | Curly hair loses moisture quickly, making regular hair masking key for definition and health. |
| Right ingredients matter | Choosing products with shea butter, oils, and proteins boosts hydration and curl strength. |
| Follow best practices | Applying masks to clean, detangled hair and using heat can maximize results for all curl types. |
| Adjust your routine | Troubleshoot masking issues by switching formulas or frequency to suit your unique curls. |
Why hair masking is essential for curls
Textured hair has a unique structure that makes moisture management genuinely challenging. Each twist and curve in a curl strand creates a point where the cuticle lifts slightly, making it harder for natural oils from the scalp to travel down the shaft. As a result, curly hair loses moisture faster than straight hair, leaving strands vulnerable to dryness, breakage, and frizz.
When dryness goes unaddressed, the effects build up over time. Curls lose their definition, strands feel rough to the touch, and elasticity drops. Low elasticity means your hair snaps instead of stretching when you detangle or style. This is why curly hair care tips consistently emphasize moisture retention as the foundation of any healthy routine.

Hair masking is a deep conditioning process that goes further than a regular rinse-out conditioner. A mask stays on the hair for an extended period, allowing active ingredients to penetrate the cortex and repair damage from the inside out. According to research on hair masks for curly hair, regular deep conditioning treatments significantly improve hair strength and shine.
Signs your curls are asking for a mask:
- Strands feel rough or straw-like after washing
- Curls look dull and lack their usual bounce
- You notice more shedding or breakage than normal
- Frizz is hard to control even with styling products
- Hair tangles easily and takes longer to detangle
For most curl types, masking once or twice a week is the sweet spot. Type 4 coily hair, which is the driest curl pattern, often benefits from weekly treatments. Type 2 wavy hair may only need a mask every two weeks.
| Curl type | Masking frequency | Primary benefit |
|---|---|---|
| Type 2 (wavy) | Every 2 weeks | Adds shine and softness |
| Type 3 (curly) | Once a week | Restores definition and moisture |
| Type 4 (coily) | Once or twice a week | Prevents breakage and seals moisture |
Pro Tip: If your curls feel stiff after washing but soft after your mask, that is a clear sign your regular conditioner is not cutting it. Make masking a non-negotiable weekly step.
What you need: Products and tools for an effective mask
Getting the right products and tools in place before you start makes the entire process smoother and more effective. You do not need an expensive setup, but a few key items make a real difference.
Ingredients to look for in a mask:
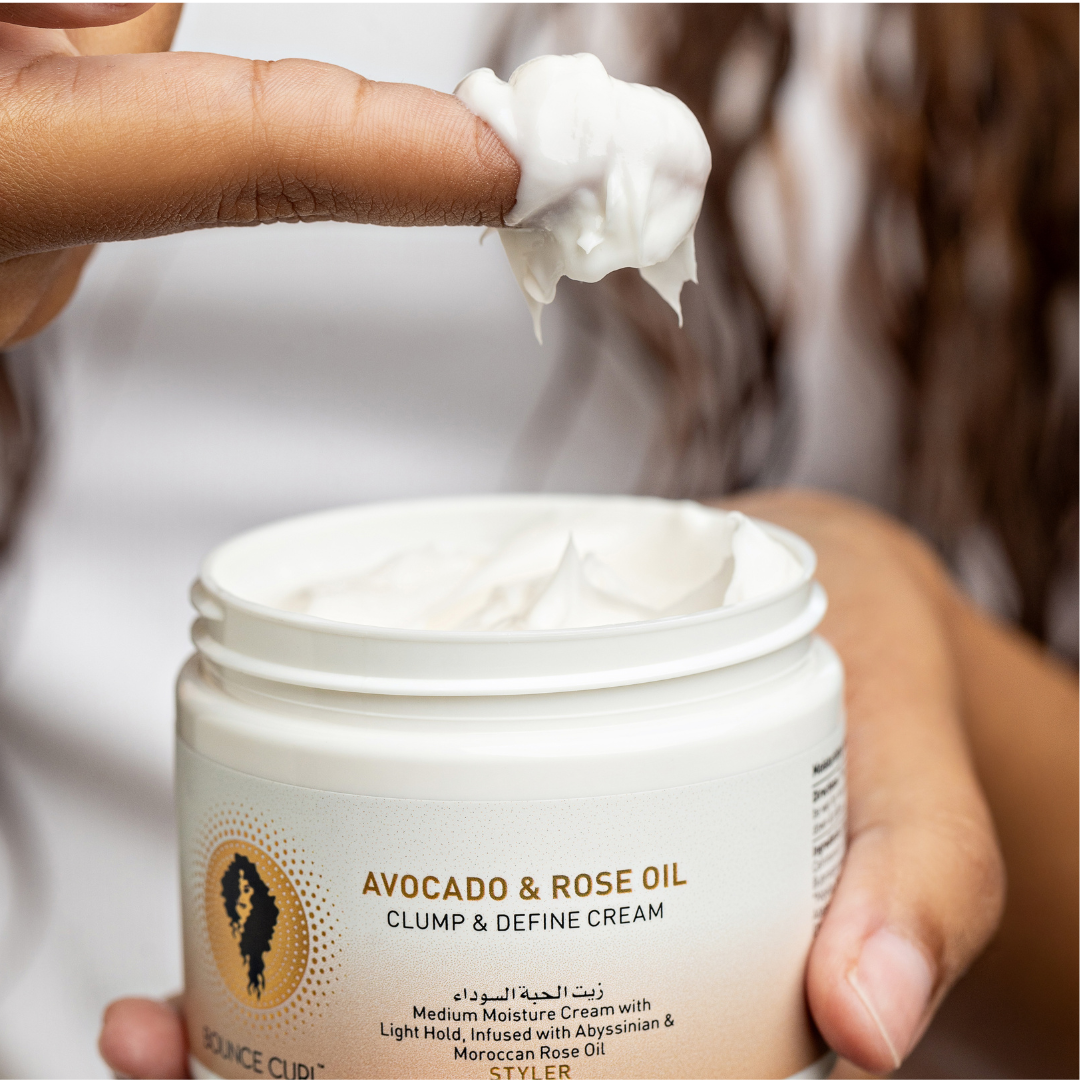
The best ingredients for curls depend on your hair’s current needs, but some work well across all textured hair types. The best hair moisturizers contain shea butter, coconut oil, and protein for repair and hydration. Shea butter softens and seals the cuticle. Coconut oil penetrates the shaft to reduce protein loss. Hydrolyzed proteins rebuild damaged areas of the strand.
For type 4 hair, look for masks with heavy butters and oils. For type 2 and 3, lighter formulas with aloe vera or glycerin prevent weighing curls down.
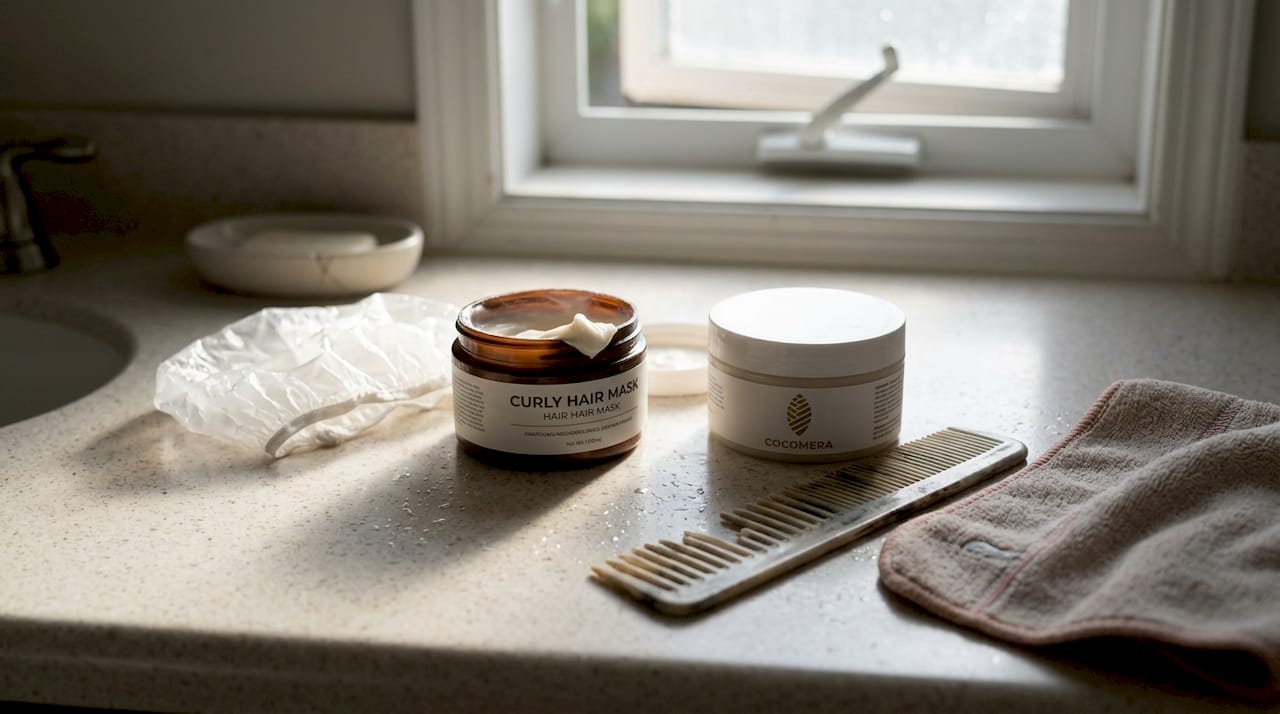
Essential tools:
- Wide-tooth comb for detangling before application
- Applicator brush for even product distribution
- Shower cap or plastic wrap to trap heat and moisture
- Microfiber towel to gently remove excess water post-rinse
- Optional: heat cap or hair steamer for deeper penetration
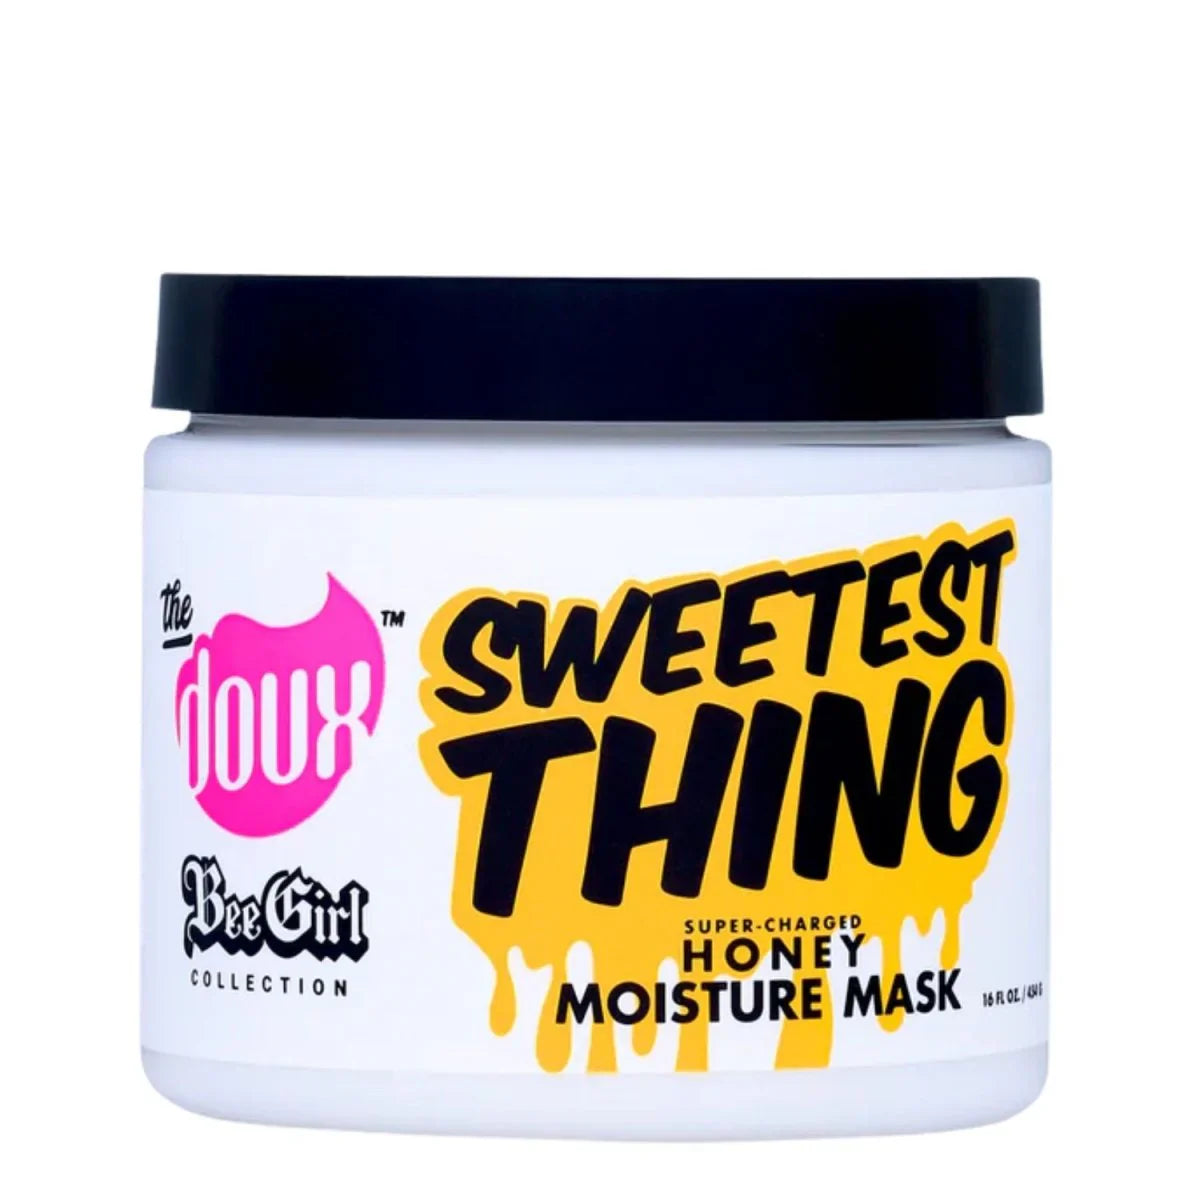
Store-bought vs. DIY masks:
Store-bought hair masks for curls are formulated with precise ingredient ratios and stability testing, which makes them more reliable for consistent results. DIY options using coconut oil, avocado, or honey can work well as a supplement but are harder to control. If you are just starting out, a quality store-bought mask is the safer choice.
For a broader look at top-rated options, the top hair mask picks from beauty editors are a useful reference point.
| Product type | Best for | Price range |
|---|---|---|
| Protein mask | Damaged or over-stretched curls | $10-$30 |
| Moisture mask | Dry, thirsty type 3 and 4 curls | $10-$35 |
| Balanced mask | General maintenance, type 2 and 3 | $12-$28 |
| DIY coconut oil mask | Budget-friendly moisture boost | Under $5 |
Pro Tip: Rotate between a moisture mask and a protein mask every other week. This keeps your curl’s moisture-protein balance in check and prevents both limpness and stiffness.
How to apply a hair mask: Step-by-step for curls
With your mask and tools ready, it is time to start the masking process. Following the right steps ensures the product actually reaches every strand and does its job.
Step-by-step masking process:
- Cleanse your hair. Wash with a sulfate-free shampoo to remove buildup. Clean hair absorbs mask ingredients far more effectively than hair coated in product residue.
- Gently squeeze out excess water. Your hair should be damp, not dripping. Too much water dilutes the mask and reduces absorption.
- Detangle with a wide-tooth comb. Work from ends to roots in sections. This prevents breakage and makes sure the mask reaches every part of the strand.
- Divide hair into four sections. Clip each section to keep it separate. This is especially important for thick or long type 3 and 4 hair.
- Apply the mask generously. Use an applicator brush or your fingers to coat each section from mid-length to ends. Avoid the scalp unless the product is specifically designed for scalp use.
- Cover with a shower cap. Trapping warmth helps the ingredients penetrate. Applying heat helps hair masks penetrate more deeply into textured hair, so sitting under a heat cap or hooded dryer for 20 to 30 minutes is worth the extra time.
- Rinse thoroughly with cool water. Cool water seals the cuticle and locks in moisture. Take your time here since leftover product causes buildup.
- Follow with a leave-in conditioner. This seals in the treatment and prepares your curls for styling. Explore pure ingredient haircare options if you prefer minimal formulas.
For a more detailed visual walkthrough, this detailed mask application guide covers the process with additional tips.
“The difference between a mask that works and one that doesn’t often comes down to application method, not the product itself. Take your time, section by section.”
How often by curl type:
Type 4 coily hair benefits from weekly masking. Type 3 curly hair does well with once-a-week treatments during dry seasons and every two weeks in humid months. Type 2 wavy hair typically needs a mask every two weeks to avoid becoming weighed down.
Troubleshooting and perfecting your masking results
After you have completed the process, it is important to know what success looks like and how to handle any hiccups. Not every mask works perfectly the first time, and that is completely normal.
How to tell your routine is working:
- Curls feel softer and more defined after washing
- Frizz is noticeably reduced between wash days
- Hair has more elasticity and snaps back when stretched gently
- Shedding and breakage decrease over several weeks
Common problems and how to fix them:
- Limp, greasy curls: You may be over-moisturizing or applying too much product. Clarify with a hair treatment designed to remove buildup, then reduce mask quantity.
- Stiff, crunchy curls: This often signals protein overload. Overuse of protein-heavy masks can cause dryness and stiffness in curls. Switch to a moisture-only mask for two to three weeks.
- Persistent frizz: Check your rinse technique. Incomplete rinsing leaves residue that disrupts the cuticle. Also make sure you are sealing with a leave-in or oil after rinsing.
- Scalp irritation or itching: Stop using the product immediately. Check the ingredient list for known irritants like fragrances or sulfates and switch to a gentler formula.
For more context on what can go wrong, this overview of hair mask mistakes is a practical read.
| Problem | Likely cause | Fix |
|---|---|---|
| Limp curls | Too much moisture or product | Clarify and reduce mask amount |
| Stiff curls | Protein overload | Switch to moisture mask for 2-3 weeks |
| Frizz after masking | Incomplete rinsing or no sealant | Rinse fully, apply leave-in |
| Scalp irritation | Ingredient sensitivity | Discontinue and check label |
For long-term success, follow the healthy curly hair tips that emphasize consistency over intensity. A moderate routine done regularly beats an aggressive one done once a month.
Hair masking for curls: What most guides miss
Most masking guides treat all curly hair as if it exists in the same environment. It does not. If you are living in Scandinavia, the UK, or northern Europe, you are dealing with hard water, cold dry air in winter, and central heating that strips moisture from everything, including your hair. These factors change how your curls absorb and retain moisture from a mask.
Hard water leaves mineral deposits on the hair shaft that block absorption. If your mask does not seem to be working, a clarifying wash before masking and a water filter for your shower could change everything.
Europe also holds incredible curl diversity. A type 2b curl in Stockholm and a type 4c coil in Paris need completely different formulas and frequencies. The idea that one masking routine fits all is a myth worth dropping. We encourage you to personalize mask ingredients based on your actual curl pattern, your local climate, and your lifestyle.
Stopping yourself from chasing the “perfect” routine you saw on social media is genuinely good advice. Trends are built around someone else’s hair, in someone else’s climate, with someone else’s water. Test, adjust, and trust what your own curls tell you.
Discover curated hair masking essentials for every curl
Finding the right mask for your curl type should not mean scrolling through hundreds of options and guessing. At Cocomera, every product in our collection is carefully chosen for textured hair types 2, 3, and 4, so you can shop with confidence.
Browse our full selection of shop hair masks to find moisture, protein, and balanced options suited to your curl pattern. If your hair needs extra support, explore our browse hair treatments for targeted solutions. And if you want to start with a clean slate, our strengthening shampoo collection helps prep your hair for maximum mask absorption. Your best curl day starts with the right products.
Frequently asked questions
How often should I use a hair mask on curly hair?
Weekly or bi-weekly masks are ideal for most curly hair, but thicker or drier type 4 coils may benefit from more frequent treatments depending on the season.
What’s the best way to prep my hair for a mask?
Detangled, clean hair helps hair masks penetrate better, so always start with a gentle cleanse and a wide-tooth comb before applying any treatment.
Can I make a DIY hair mask for curls?
Yes, but natural oils and ingredients must be matched to your hair type since a heavy oil like coconut oil can weigh down type 2 waves while working beautifully on type 4 coils.
What are signs I’m over-masking or using the wrong product?
Too much protein or moisture can make curls stiff or limp, so if your hair feels off after masking, check whether your current product is moisture-based, protein-based, or both.