Sweden’s dry winters are brutal on curly hair. The cold air outside pulls moisture from your strands, and the heated indoor air does the same from the other direction. If you’ve been fighting frizz, dullness, and limp curls every time your hair dries, the problem likely isn’t your products. It’s your drying technique. The good news is that small, intentional changes to how you dry your curls can completely transform your results, giving you defined, bouncy, moisturized hair even in the depths of a Scandinavian winter.
Table of Contents
- Understanding your curls and Sweden’s climate
- Curly hair drying methods: options and essentials
- Step-by-step: air drying for healthy, defined curls
- Troubleshooting: fixing common drying mistakes
- Enhancing results: deep conditioning and finishing tips
- Explore Cocomera’s curly hair solutions
- Frequently asked questions
Key Takeaways
| Point | Details |
|---|---|
| Air drying prevents frizz | Allowing curls to dry naturally and hands-off leads to better definition and less frizz. |
| Moisture matters in Sweden | Weekly deep conditioning and sealing with oils are crucial in dry Scandinavian climates. |
| Know your curl type | High porosity hair dries faster but frizzier; low porosity needs extra patience and moisture. |
| Leave hair slightly damp | Dry your curls to around 90% to avoid over-drying and keep your texture bouncy. |
| Tools and products enhance results | The right drying methods, tools, and climate-appropriate products boost curl health and appearance. |
Understanding your curls and Sweden’s climate
Before you change anything, you need to understand why your curls behave the way they do when drying. Two factors matter most: your curl pattern and your hair porosity.
Porosity refers to how easily your hair absorbs and holds onto moisture. High porosity hair soaks up water fast but loses it just as quickly, which is why it dries faster but frizzier. Low porosity hair repels water initially, meaning it takes much longer to dry and can feel weighed down by heavy products. Knowing your porosity changes everything about how you approach drying.
Sweden’s climate adds another layer of complexity. Low humidity winters require you to work harder to keep moisture inside the hair shaft, not just on the surface. When the air is dry, it actively pulls water out of your strands during the drying process. This is why curls that look great right after washing can turn into a frizzy mess an hour later.
Here’s a quick breakdown of how different curl types typically behave during drying:
| Curl type | Porosity tendency | Drying speed | Main challenge |
|---|---|---|---|
| Type 2 (wavy) | Low to medium | Moderate | Losing wave definition |
| Type 3 (curly) | Medium to high | Moderate to fast | Frizz and shrinkage |
| Type 4 (coily/afro) | High | Fast on surface | Dryness and breakage |
“The key to managing curly hair in dry climates is not just adding moisture, but sealing it in so it stays there throughout the drying process.”
Understanding moisture for textured curls is the foundation of every good drying routine. Without it, even the best technique will fall short.
Curly hair drying methods: options and essentials
There is no single best way to dry curly hair. The right method depends on your curl type, your schedule, and the tools you have available. Here are the four main options:
Air drying is the gentlest method. It preserves curl shape, reduces mechanical damage, and requires no heat. The downside is time. Air drying takes 2 to 4 hours depending on thickness, porosity, and climate, which in Sweden’s winter can feel even longer indoors with dry heated air.
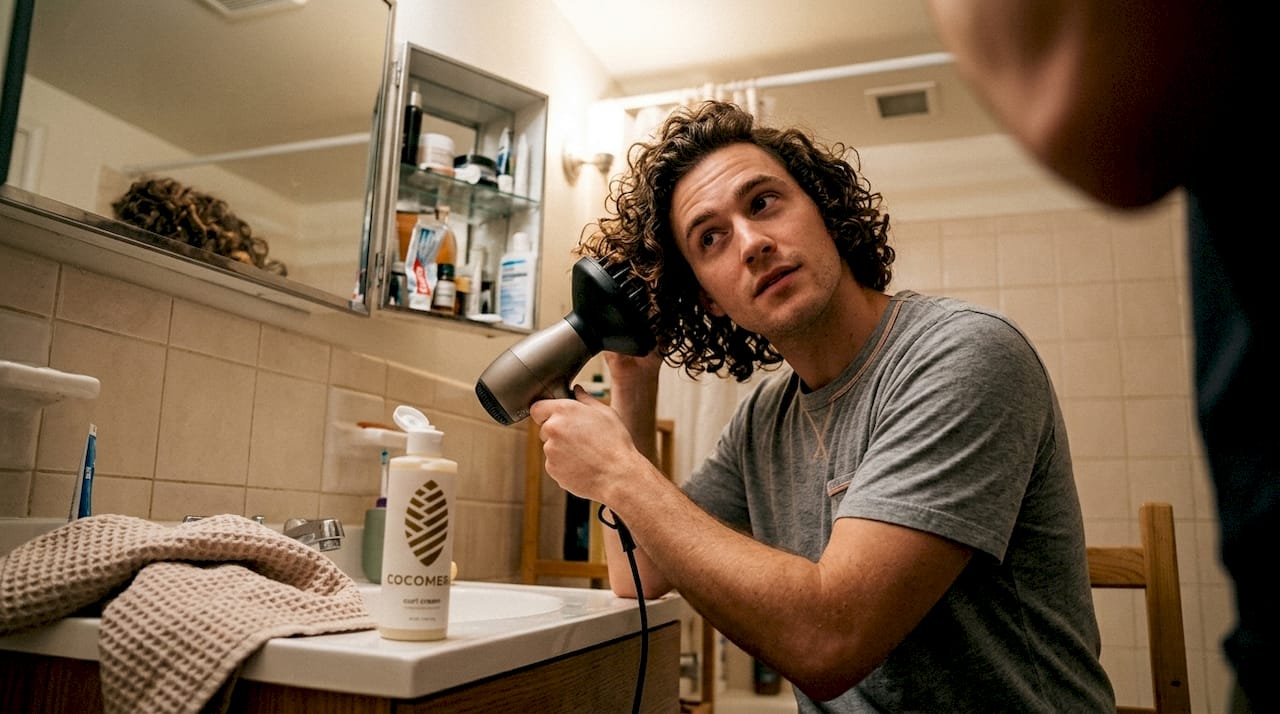
Diffusing uses a hair dryer with a diffuser attachment to distribute heat evenly without disrupting curl clumps. It’s faster than air drying and works well for type 3 and 4 curls. The risk is frizz if you use too high a heat setting or move the diffuser too much.
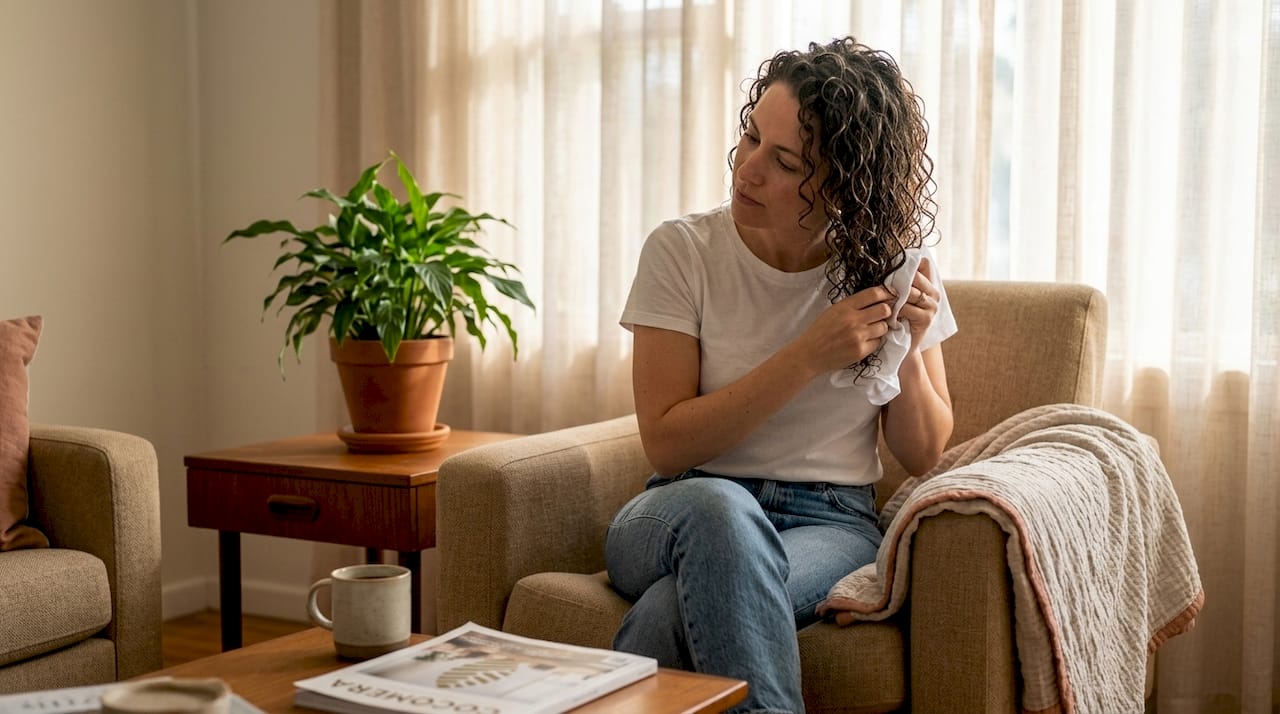
Plopping is a technique where you wrap freshly washed hair in a microfiber towel or cotton T-shirt to absorb excess water while keeping curls in their natural shape. It’s usually done before air drying or diffusing to cut down total drying time.

Hooded dryers are popular for type 4 hair. They provide consistent, indirect heat that dries hair evenly without disturbing the curl pattern. They’re an investment but worth it for coily hair types.
Here’s how the methods compare:
| Method | Frizz risk | Time required | Best for |
|---|---|---|---|
| Air drying | Low | 2 to 4 hours | All curl types |
| Diffusing | Medium | 30 to 60 min | Type 3 and 4 |
| Plopping | Low | 20 to 30 min prep | All curl types |
| Hooded dryer | Low | 45 to 60 min | Type 4 |
Essential tools to have on hand:
- Microfiber towel or old cotton T-shirt (never terry cloth)
- Diffuser attachment for your hair dryer
- Leave-in conditioner or styling product
- Lightweight oil for sealing
- Wide-tooth comb or detangling brush
Pro Tip: Never dry your curls to 100%. Leaving about 10% moisture in the hair when you finish drying keeps the curl pattern soft and prevents that stiff, crunchy texture. This is especially important in Sweden’s dry climate where the air will pull out that last bit of moisture naturally.
For a full picture of how drying fits into your overall care, check out the ultimate curly routine to see how each step connects.
Step-by-step: air drying for healthy, defined curls
Air drying is the most accessible method and, when done right, delivers the best results for most curl types. Here’s how to do it properly:
-
Wash with a moisturizing shampoo. Start with a moisturizing shampoo that doesn’t strip your natural oils. Avoid sulfate-heavy formulas that leave hair parched before drying even begins.
-
Detangle gently while conditioner is in. Use a detangling conditioner and work through knots with your fingers or a wide-tooth comb from ends to roots. This step prevents breakage and helps curls clump together naturally.
-
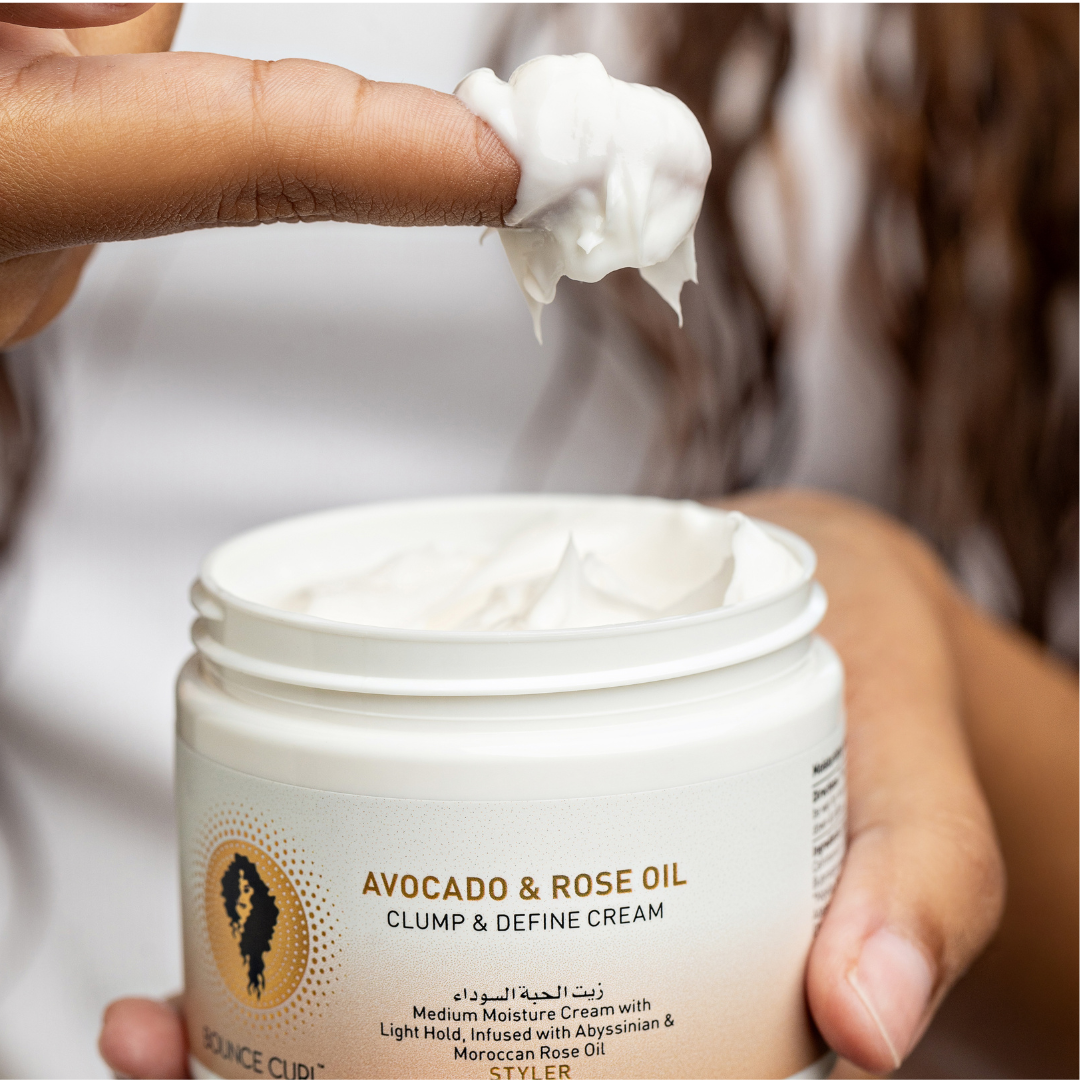
Apply leave-in and styling products to soaking wet hair. Don’t wait. Products applied to dripping wet hair distribute more evenly and lock in more moisture.
-
Plop for 20 minutes. Wrap your hair in a microfiber towel or T-shirt to absorb excess water without disturbing your curl pattern. Skip the regular terry cloth towel entirely. The rough texture creates friction and frizz.
-
Release and let air dry without touching. This is the hardest part. The hands-off approach is one of the most effective ways to prevent frizz. Every time you touch your hair mid-dry, you’re breaking curl clumps and introducing frizz.
-
Seal with a lightweight oil once hair is about 90% dry. Sealing with oils locks in the moisture from your leave-in and protects the hair shaft from the dry air. A few drops of a curly hair oil worked gently over the surface of your curls is enough.
-
Use a humidifier indoors. This is a game-changer for Swedish winters. A humidifier adds moisture back into the air, slowing down how fast your hair dries and reducing the risk of frizz during that critical drying window.
The full air drying process takes between 2 and 4 hours. Plan your wash days accordingly. For more detail on building this into a complete routine, the curly routine details page walks you through every step.
Troubleshooting: fixing common drying mistakes
Even with the right method, small mistakes can derail your results. Here’s what to watch for:
Signs your drying routine isn’t working:
- Frizz that appears within an hour of drying
- Curls that look defined when wet but fall flat when dry
- Dull, rough texture with no shine
- Hair that feels dry and brittle by the end of the day
The most common mistakes:
- Using a regular terry cloth towel and rubbing vigorously
- Skipping leave-in conditioner or oil before drying
- Touching or scrunching hair repeatedly while it dries
- Drying hair completely instead of leaving it slightly damp
- Applying products to hair that’s too dry after washing
The 10% damp rule is one of the most overlooked tips in curly hair care. Fully dried curls lose their elasticity and bounce. Stopping just short of fully dry preserves the curl’s natural spring.
“Air drying, when combined with the right products and a hands-off approach, consistently outperforms mechanical drying methods for curl definition and moisture retention.”
Quick fixes when things go wrong:
- Frizzy, dry curls: Mist with water, apply a small amount of leave-in, and scrunch gently
- Flat, undefined curls: Try the routine for defined curls and focus on product application to wet hair
- Brittle, dull hair: Deep condition immediately and revisit your moisture guide to identify gaps in your routine
Most drying problems are fixable once you identify the root cause. Start with the towel and the touching habits. Those two changes alone make a visible difference.
Enhancing results: deep conditioning and finishing tips
Mastering drying technique is only part of the equation. What you do before and after drying determines how long your results last.
Deep conditioning weekly is non-negotiable for curly hair in Sweden’s climate. Weekly deep conditioning supports moisture retention between wash days and keeps the hair shaft flexible and strong. A good hair mask applied for 20 to 30 minutes under a shower cap makes a significant difference in how your curls behave when drying.
Finishing product tips:
- Use lightweight oils, not heavy butters, as your final sealant in winter
- Layer products from lightest to heaviest: leave-in, then gel or cream, then oil
- Avoid glycerin-heavy products in very low humidity conditions. Glycerin pulls moisture from the air, but when humidity is extremely low, it pulls from your hair instead
- A small amount of leave-in styling product applied to the ends before bed extends moisture overnight
Preserving your curls overnight:
- Use the pineapple technique: loosely gather curls at the top of your head with a satin scrunchie before sleeping
- Sleep on a silk or satin pillowcase to reduce friction and moisture loss
- Avoid cotton pillowcases entirely. They absorb moisture from your hair while you sleep
Humidifier prep: Run your humidifier in the room where your hair dries. Aim for indoor humidity between 40% and 60%. This range keeps curls hydrated without making the air feel heavy or damp.
For a complete deep conditioning routine, combining these finishing steps with the right drying method creates results that last well beyond wash day.
Explore Cocomera’s curly hair solutions
Getting your drying technique right is a huge step, but having the right products makes every step easier and more effective. At Cocomera, we’ve curated a range of products specifically for wavy, curly, coily, and afro hair types living in Sweden’s challenging climate.
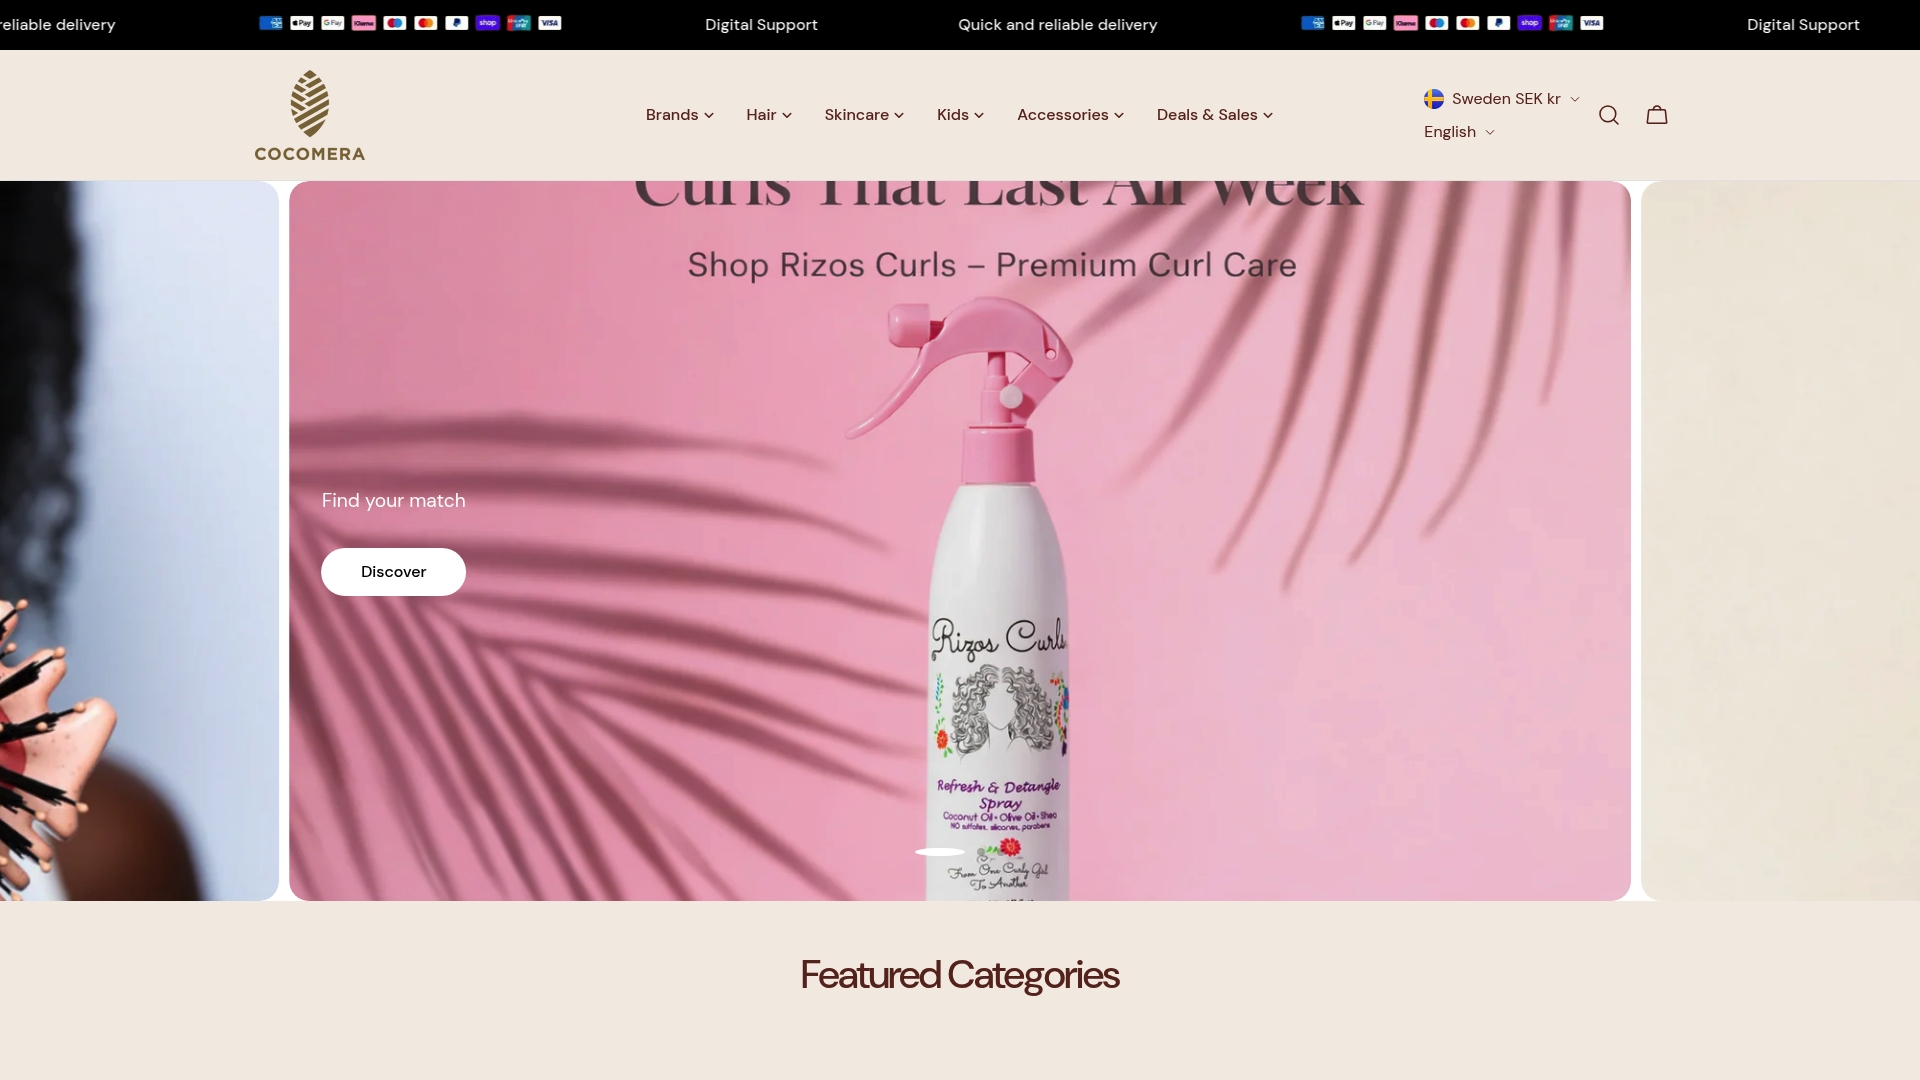
From curly hair treatments that restore moisture and elasticity, to strengthening shampoos that prep your hair without stripping it, and hair oils for curls that seal in every bit of hydration you’ve worked for, we have what your routine needs. Every product in our store is chosen with textured hair in mind, so you’re never guessing whether something will work for your curl type. Browse our collections and find your next curl essential.
Frequently asked questions
How can I reduce frizz when drying my curly hair?
Air dry your curls, leave them about 10% damp, and keep your hands off while they dry. Hands-off air drying preserves curl shape and prevents frizz better than any other single technique.
What products should I use during Sweden’s dry winter?
Use a humidifier indoors, avoid glycerin-heavy products in very low humidity, and seal your hair with a lightweight oil after applying leave-in. Weekly deep conditioning and oil sealing are especially recommended for Scandinavian climates.
How long does air drying curly hair usually take?
Air drying takes 2 to 4 hours depending on your hair’s thickness and porosity. Plopping first can cut that time by 30 to 45 minutes.
Should I dry my curls completely or leave them damp?
Leave your hair about 10% damp for the best curl texture and bounce. Fully drying your curls removes the elasticity that keeps them defined and springy.